Connect Cloudgene to a Hadoop Cluster
When you execute workflows with Hadoop steps, Cloudgene needs to know where the Namenode and Jobtracker are. These information are in the Hadoop config files in $HADOOP_HOME/conf on your Namenode. If you start Cloudgene on the Namenode then all configuration files are already located on the machine.
Copy the Configuration Files from Cluster to Cloudgene
When you plan to run Cloudgene on a different server than the Namenode, then you have to copy the confioguration files from the cluster to your Cloudgene instance.
Copy the following configuration files from the $HADOOP_HOME/conf on your Namenode to a directory on your Cloudgene instance (e.g. /path/to/cloudgene/hadoop-conf/):
- core-site.xml
- hbase-site.xml
- hdfs-site.xml
- hive-site.xml
- mapred-site.xml
- yarn-site.xml
If you are using Cloudera Manager, you can download the configuration of the MapReduce services directly via the web interface. A step by step guide can be found in this article.
Configure Cluster Connection
Next, you have to define the cluster and the path to its configuration files in your config/settings.yaml file:
cluster:
  # cluster name
  name: Test Cluster
  # the cluster type. Currently, the only cluster supported is hadoop.
  type: hadoop
  # configuration files from your cluster
  conf: /path/to/cloudgene/hadoop-conf
  # username which should be used for job execution
  user: hadoop
Validate Cluster Connection
You can use the verify-cluster command to check if Cloudgene is able to establish a connection to your cluster:
cloudgene verify-cluster
You should see a message like Hadoop cluster is ready to use.
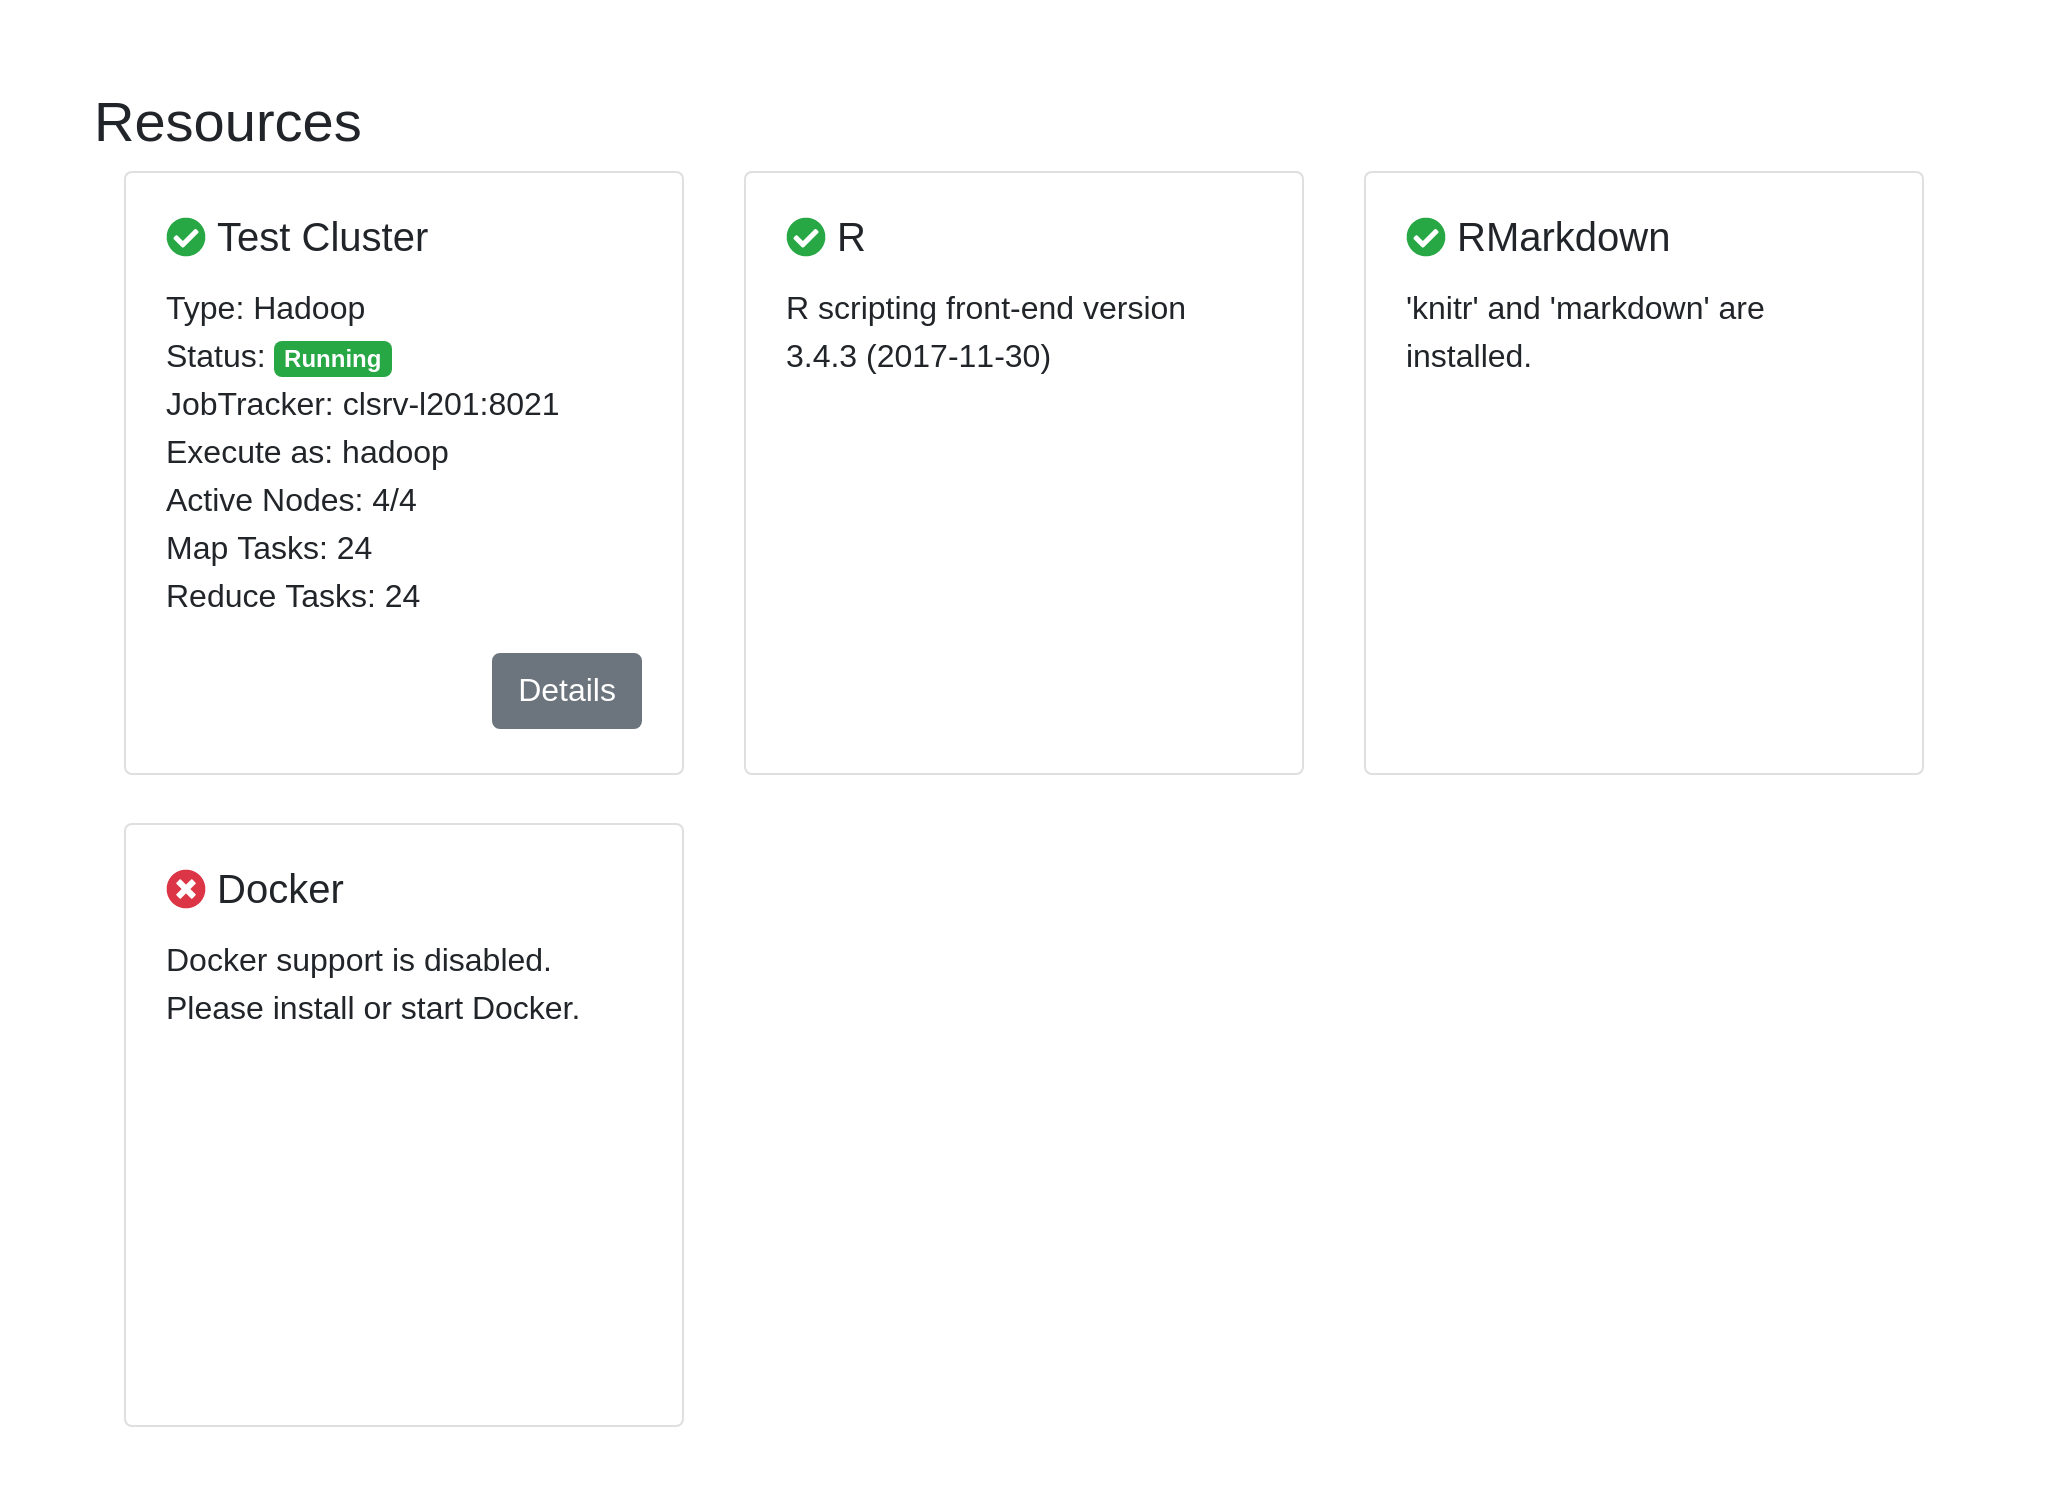
Next, restart the Cloudgene webserver, open the Admin Panel and click on the Server tab. In the section Resources you will see if Cloudgene was able to establish a connection to your Hadoop cluster as well as all nodes were found: