Customization
This page helps you to customize Cloudgene and describes how to change templates and add new pages.
General
Service Name and Colors
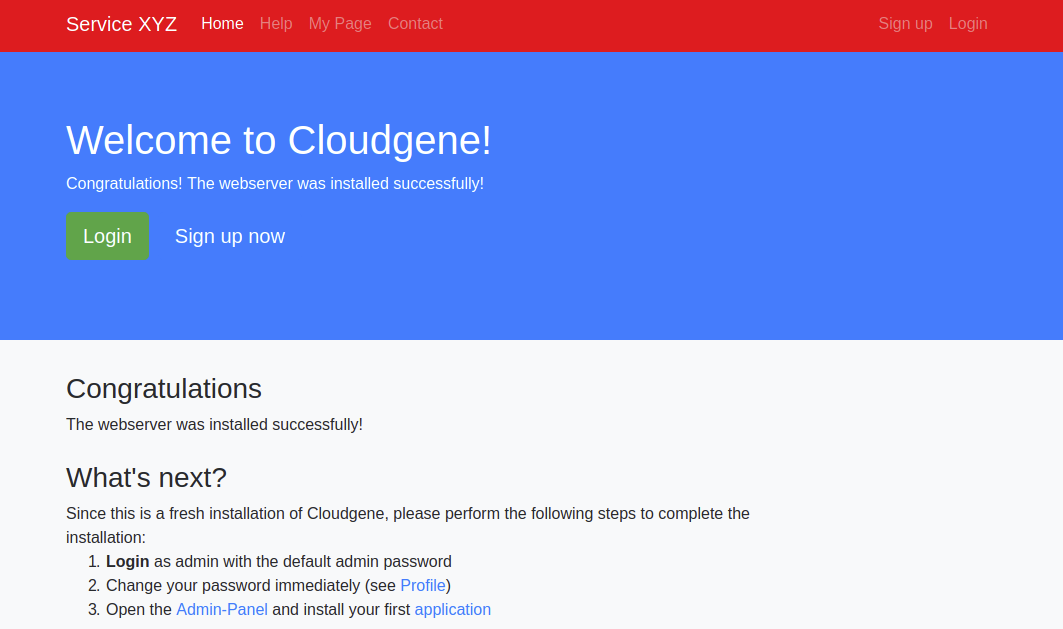
Open the Admin Panel and click on Settings -> General. Change the name of your service and set the background color of the navigation bar to your preferred color.
Click on Exit to see your changes in action:
Footer
Open the Admin Panel and click on Settings -> Templates. Go to the row with Key FOOTER and click on the Edit button located on the right side. Change the text to your needs.
Please support Cloudgene by adding a link to our website inside your footer:
powered by <a href="http://cloudgene.uibk.ac.at">Cloudgene</a>
Default pages
Every Cloudgene instance has two default pages that are required, but they can be overwritten with your own content.
Welcome page
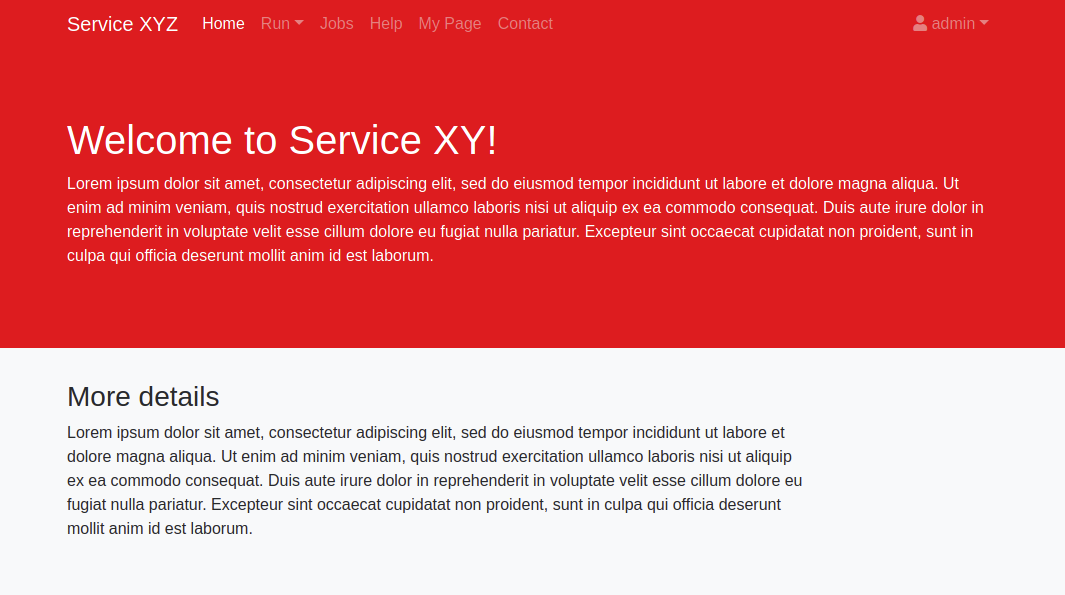
Create a file home.stache in folder ${CLOUDGENE_HOME}/pages and use HTML to adapt it to your needs. Since Cloudgene is based on Bootstrap4, all available CSS classes can be used. For example:
<div class="jumbotron jumbotron-fluid text-white" style="background: #FF0000;">
  <div class="container">
    <h1>Welcome to Service XY!</h1>
    <p>Lorem ipsum dolor sit amet, consectetur adipiscing elit, sed do eiusmod tempor incididunt ut labore et dolore magna aliqua. Ut enim ad minim veniam, quis nostrud exercitation ullamco laboris nisi ut aliquip ex ea commodo consequat. Duis aute
      irure dolor in reprehenderit in voluptate velit esse cillum dolore eu fugiat nulla pariatur. Excepteur sint occaecat cupidatat non proident, sunt in culpa qui officia deserunt mollit anim id est laborum.</p>
  </div>
</div>

<div class="container bd-content" style="margin-bottom: 0px;">
  <h3>More details</h3>
  <p>Lorem ipsum dolor sit amet, consectetur adipiscing elit, sed do eiusmod tempor incididunt ut labore et dolore magna aliqua. Ut enim ad minim veniam, quis nostrud exercitation ullamco laboris nisi ut aliquip ex ea commodo consequat. Duis aute
    irure dolor in reprehenderit in voluptate velit esse cillum dolore eu fugiat nulla pariatur. Excepteur sint occaecat cupidatat non proident, sunt in culpa qui officia deserunt mollit anim id est laborum.</p>
</div>
If you restart Cloudgene, the updated welcome page appears.
Moreover, you can use the following mustache syntax inside of your template to deliver different content for public and registered users:
{{#is(loggedIn, true)}}
  <p>
    Hey! You are now logged in!
  </p>
{{else}}
  <p>
    Hey stranger!
  </p>
{{/is}}
Contact page
Create a file contact.stache in folder ${CLOUDGENE_HOME}/pages and use HTML to adapt it to your needs:
<h2>Contact</h2>
<p>Lorem ipsum dolor sit amet, consectetur adipiscing elit, sed do eiusmod tempor incididunt ut labore et dolore magna aliqua. Ut enim ad minim veniam, quis nostrud exercitation ullamco laboris nisi ut aliquip ex ea commodo consequat. Duis aute irure dolor in reprehenderit in voluptate velit esse cillum dolore eu fugiat nulla pariatur. Excepteur sint occaecat cupidatat non proident, sunt in culpa qui officia deserunt mollit anim id est laborum.</p>
If you restart Cloudgene, the updated contact page appears.
Custom pages
Cloudgene supports custom pages to create service specific content (e.g. help pages).
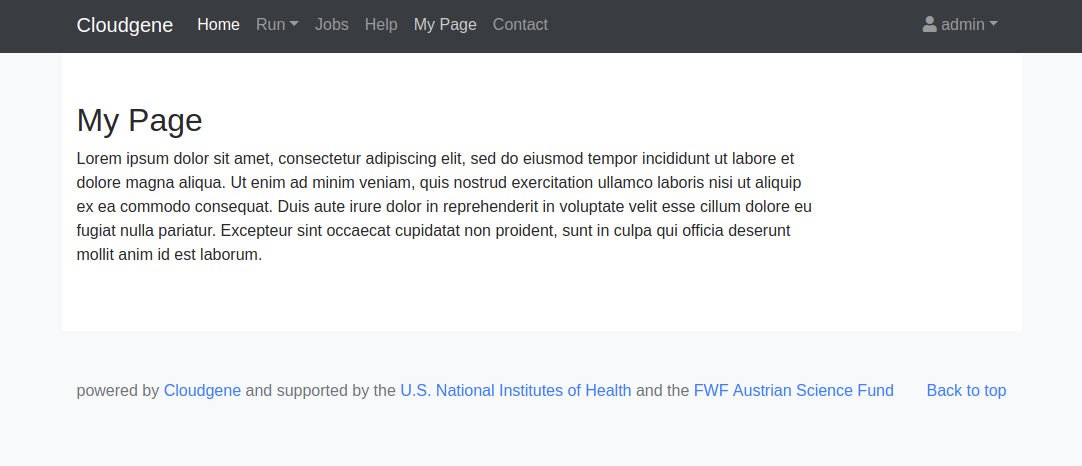
Create a new *.stache file in folder ${CLOUDGENE_HOME}/pages and give it a name (e.g. mypage.stache). Use HTML to adapt it to your needs:
<h2>My Page</h2>
<p>Lorem ipsum dolor sit amet, consectetur adipiscing elit, sed do eiusmod tempor incididunt ut labore et dolore magna aliqua. Ut enim ad minim veniam, quis nostrud exercitation ullamco laboris nisi ut aliquip ex ea commodo consequat. Duis aute irure dolor in reprehenderit in voluptate velit esse cillum dolore eu fugiat nulla pariatur. Excepteur sint occaecat cupidatat non proident, sunt in culpa qui officia deserunt mollit anim id est laborum.</p>
Next, open the configuration file config/settings.yaml and add the page to the navigation. The id of the navigation item has to be the filename without the extension and link needs the prefix #!pages/ (you need to set double quotes around the link). For example:
navigation:
  - id: mypage
    name: My Page
    link: "#!pages/mypage"
If you restart Cloudgene, the new page appears in the navigation bar and with a click on the item the new page appears:
Custom Navigation
The navigation bar is full customizable and can be changed by adapt the navigation block in config/settings.yaml.
Link to external websites
It is also possible to create navigation items that open a website on a different server. For this, you have to set the link property to a URL starting with http://. For example:
navigation:
  - id: cloudgene-sote
    name: Cloudgene Website
    link: "http://cloudgene.io"
Submenus
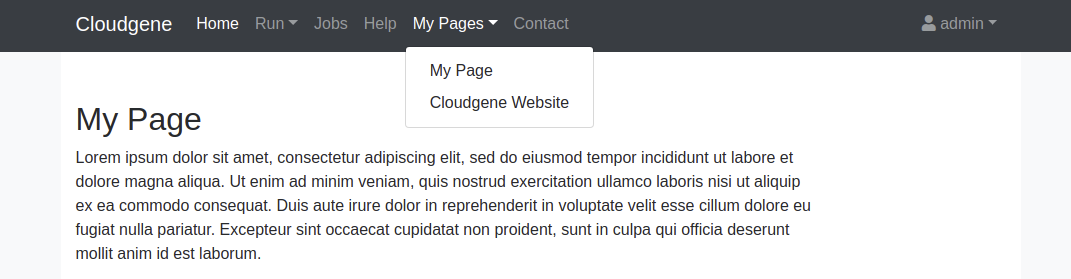
You can group different links together by creating submenus. Such a submenu can be created by adding a new item to the navigation block and by setting the items key instead of link. For example:
navigation:
  - id: mypages
    name: My Pages
    items:
    - id: mypage
      name: My Page
      link: "#!pages/mypage"
    - id: cloudgene-sote
      name: Cloudgene Website
      link: "http://cloudgene.io"
If you restart Cloudgene, the submenu appears in the navigation bar:
Mail Notifications
Open the Admin Panel and click on Settings -> Templates. All available text snippets used in notification mails can be changed by clicking on the Edit button.